

Everybody’s got to start somewhere, right? If I was using better judgement I might have picked ONE chair to refinish instead of six chairs and a dining room table. But when a friend is moving and has a beautifully crafted 1920’s set and needs to quickly find it a new place to live, you say BRING IT ON (that and it was free and came with no expectations – I mean, WINNING). And there’s a little instruction manual for EVERYTHING called The Internet. All I’ve got to do is look up how to do it, right? Can’t be too hard…(stop laughing).
So that was about three months ago and after lots of starts, stops, and re-do’s, that bad boy is still not complete. But it’s SO CLOSE. Side note: I’m almost positive some people post tutorials online with bad information ON PURPOSE to get a laugh out of those of us who don’t know any better. Since this project has had a significant learning curve for me (still not sure I’m even headed towards the upward part of the curve…) I’ve broken the recap down into a few Parts (that annnnndddd because the furniture’s not done yet).
In Part 1 I’m introducing you to the furniture and the steps taken to get it primed and ready for finishing. In my very limited experience, I’ve found that prepping the pieces for their makeover takes the most work and is the least fun. But as you’ll see in a later post, trying to cut corners on the prep work isn’t the best idea…. Hey, I was SO TIRED OF SANDING. I know better now!
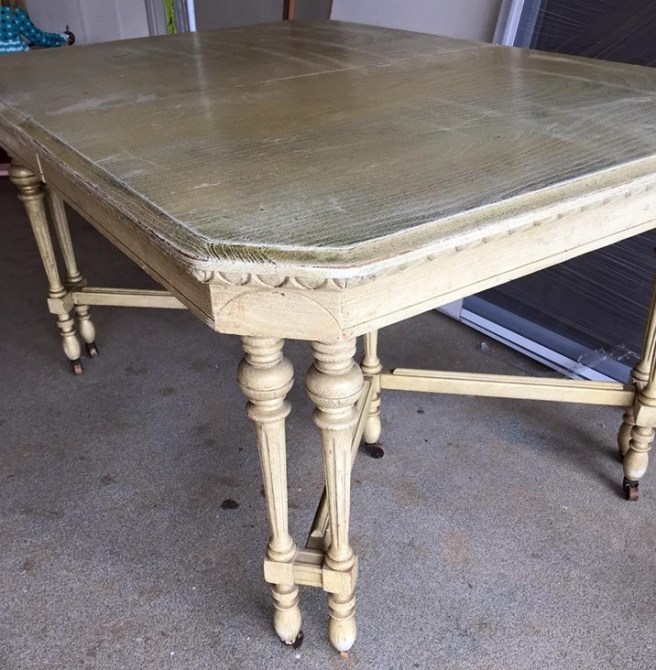
A little history on the set. I’m told it started as a beautiful mahogany table in the 1920’s. My friend’s grandmother owned it and around the 50’s decided to white wash it. It stayed within the family for years and from what I can tell, each family member decided to redo it to their own taste. It looks like it must have gone through a greenish stage, a metallic gold (I kid you not – it shimmered in certain lights) and finally a cream colored “antiquing” that looked to have yellowed with the years (the wrong kind of poly will do that as we’ve found out the hard way!)
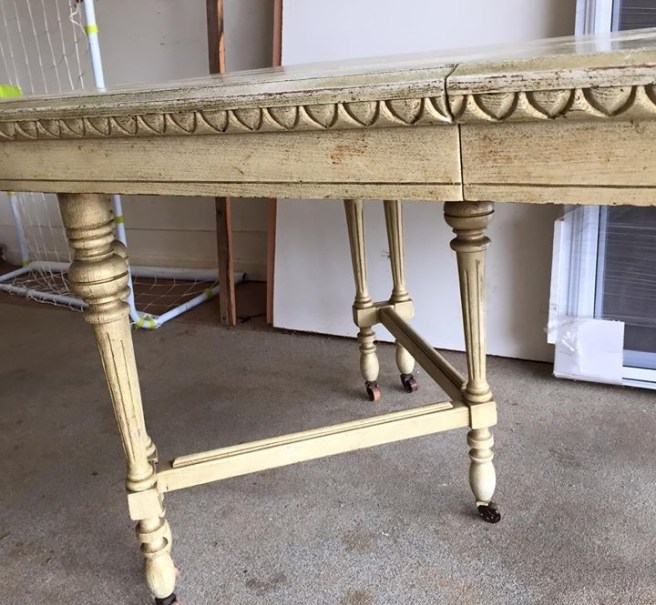
Since the furniture was good and worn, the hubs said it just needed to be “scuffed up a bit” before it could be primed. So I busted out a sanding block, stuck some 180 grit sandpaper to it, and commenced to sand until my arm felt like it was going to fall off. And word of advice if you’ve never used a sanding block: watch yo fingerz!! It’s easy to get going pretty fast and knock the stank out of whatever poor finger happens to be between the block and the table leg (there might have been a few choice words….).
Once the table was scuffed (I didn’t get any pics because it honestly didn’t look too different), I moved on to the chairs. And when I say moved on, I mean several days later when my arm recovered.

These guys took me an ENTIRE day to sand. Lots and lots of knocked fingers! They might be small, but they’ve got SO MANY LITTLE DETAILS AND SIDES. For whatever reason it didn’t occur to me to remove the seats at this point but get a good look at the current fabric above. Removing that was such a fun experience for the wannabe history nerd in me that the seats get their very own post later.

Once everything was sanded (see above), I finally got to prime. The difference from the original to the primed was so dramatic that I considered changing my entire plan. (I found a post online of a piece that I liked the look of and decided to give it a try. CPA here…not artsy…have to copy.)
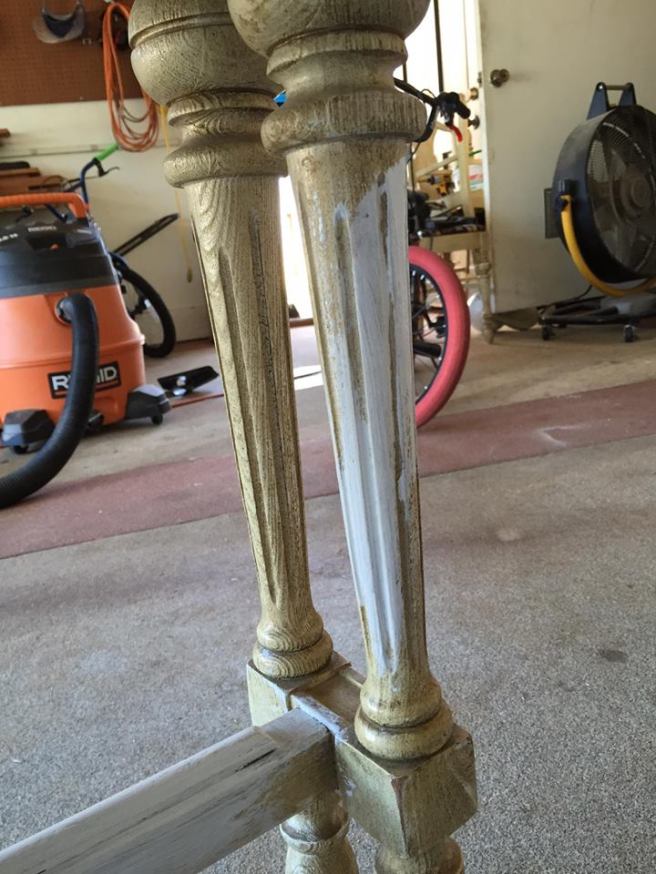

The primer is still wet in the pic above but you can see what a crazy transformation it made. I loved the look of the flat white. At this stage it had quite a chalk paint feel and I was really buying into it. This is one of the main reasons I waited so long to move on to painting. (I’m not one to stray from my original plan very easily and I was set on giving it a coat of white and topping it off with grey satin (oil-based none-the-less) for no other reason than that’s what was used on the piece I found online that I was attempting to copy.) Since I wasn’t in a hurry to mess up the look I unexpectedly liked so much, they ended up just sitting in the garage a while…primed and ready.

On another side note: these pictures have driven home the fact that 1) the garage has TERRIBLE lighting and 2) the garage is NASTY. I will leave those projects to the hubs. Don’t want him getting bored or anything.
So there you have it. Table and chairs sanded, primed, and ready to paint. Except now I’m not so sure I want to stick with the paint we’ve already bought but I can’t convince myself to stray from it either. Ah…indecision. And so they sit.
Be sure to check back for Part 2. Until next time….
~Jess

One thought on “1920’s Dining Room Table – Part 1”